


Live Site: https://stopwatch.bhaveshp.dev/
This article contains a step by step by guide on creating a stopwatch using javascript.
Create HTML file
Create CSS file
Create JavaScript file
If you want to check out and improve on my work, please go to my GitHub Repository, which is linked at the bottom of this page.
1. HTML File
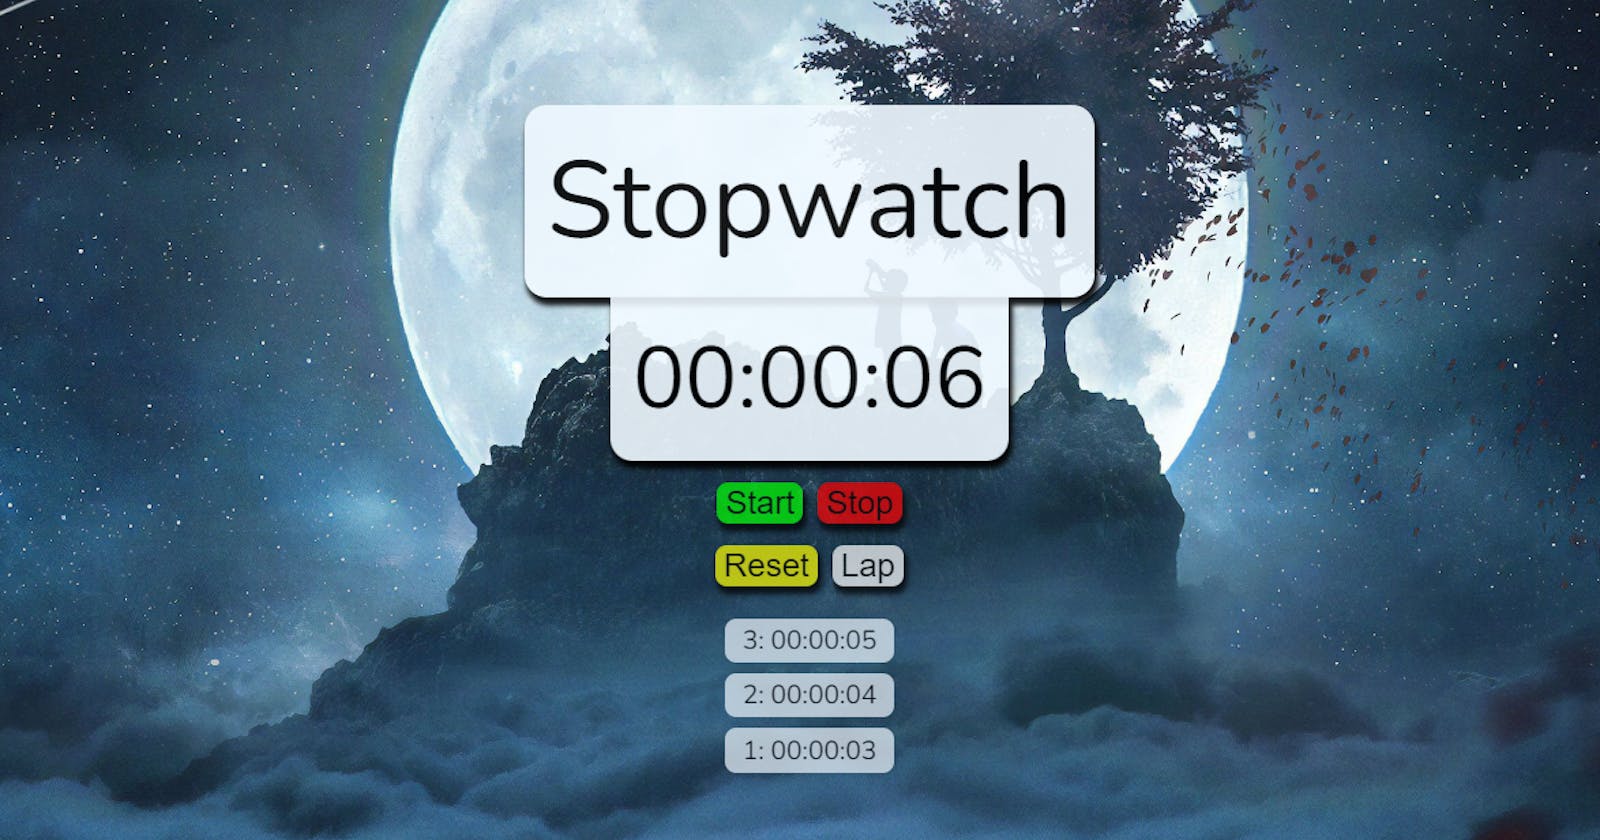
Create an HTML skeleton for your webpage; for further clarity, use the <div></div> element with the class property. If you want to start learning the fundamentals, click here. You may also use my HTML, however, you should customize your skeleton to your needs.
<div class="main-container">
  <div class="header">
    <div class="container-num1">Stopwatch</div>
  </div>
  <div class="container-numbers">
    <div class="container-num2">
      <span id="outputHour">00</span>:<span id="outputMinute">00</span>:
      <span id="outputSecond">00</span>
    </div>
  </div>
  <div class="container-button">
    <div class="input-buttons">
      <button id="inputStart">Start</button>
      <button id="inputStop">Stop</button>
    </div>
    <div class="lap-container">
      <button id="inputReset">Reset</button>
      <button id="inputLap">Lap</button>
    </div>
  </div>
  <div class="lap-container">
    <div class="lap-begins"></div>
  </div>
</div>
To integrate javascript on button, I used the <button></button> tag with id.
The <span></span> tag also serves as a container.
2. CSS File
Before you use CSS to style your webpage, you should be familiar with it. If you want to start learning the fundamentals, click here. You may also use my CSS, however, it may not work for you because it contains task-specific classes and styling.
@import url('https://fonts.googleapis.com/css2?family=Montserrat&family=Nunito&display=swap');
body{
    background-image: url(/assets/background.jpg);
    background-size:cover;
    /* background-repeat: no-repeat; */
    background-blend-mode: color;
    font-family: 'Nunito', sans-serif;
}
As shown above, I began by importing a font family for text and applied it to the entire homepage.
div.main-container{
     max-width: 50%;
     display: inline;
     justify-content: center;
}
div.header{
    color: black;
    font-size: 5rem;
    display: flex;
    justify-content: center;
    margin-top: 15% ;
}
div.container-text{
    padding: 1rem;
    background-color: aliceblue;
    max-width: fit-content;
    border-radius: 1rem;
    box-shadow: 2px 5px 4px 1px black;
    opacity: 0.9;
}
As displayed above, I stylized the entire "Stopwatch" text and background with CSS properties like border, font-size, color, justify-content, border-shadow, and so on.
After formatting the text, I began working on my numbers displayer, which is formatted in the same way as the "stopwatch" text for the most part but has its own CSS that can be seen below:
div.container-numbers{
    color: black;
    font-size: 4rem;
    display: flex;
    justify-content: center;
    margin-bottom: auto;
}
div.container-num2{
        padding: 1rem;
        background-color: aliceblue;
        max-width: fit-content;
        border-end-start-radius: 1rem;
        border-end-end-radius: 1rem;
        box-shadow: 2px 5px 4px 1px black;
        opacity: 0.9;
}
Now Since the number and title were completed, I began working on the button that would be used to initiate a function. I largely utilized CSS properties like transform, background-color, padding, margin, box-shadow, and so on to stylize the button. The CSS for buttons is displayed below:
div.input-buttons{
    display: flex;
    justify-content: center;
    column-gap: 0.7rem;
}
div.lap-container{
    display: flex;
    justify-content: center;
    column-gap: 0.7rem;
}
Button:active{
    transform:translateY(4px)
}
Button{
    color: black;
    background-color: white;
    font-size: x-large;
    margin-top: 1rem;
    border-radius: 0.5rem;
    border: none;
    box-shadow: 2px 5px 4px 1px black;
    opacity: 0.7;
}
button#inputStart{
    background-color: #00ff00;
}
button#inputStop{
    background-color: red;
}
button#inputReset{
    background-color: yellow;
}
button#lap{
    background-color: orange;
}
Moving on to the last section, you can see that just the lap text has to be stylized. The styling of lap text is identical to that of stopwatch and numbers text. Its CSS is shown below:
div.lap-begins{
    display: flex;
    justify-content: center;
    flex-direction: column;
    margin-top: 1rem;
    font-size: larger;
    max-width: fit-content;
}
div.lap-container{
    justify-content: center;
}
div.lap-record{
    background-color: aliceblue;
    margin-top: 0.5rem;
    padding: 0.2rem;
    padding-left: 0.8rem;
    padding-right: 0.8rem;
    opacity: 0.7;
    border-radius: 0.5rem;
}
3. JavaScript File
Now you may use my code, but with some modifications. Individual functions for start, stop, and reset can be created. as well as a lap. setInterval can be used to display or execute a function in the loop after a specified length of time.
I also saved document.getElementByID and document.getElementByClassName in variables and used the parseInt method to convert string datatype to integer for calculations, as shown below.
let ominute = document.getElementById('outputMinute');
let nMinute = parseInt(ominute.textContent);
let osecond = document.getElementById('outputSecond');
let nSecond = parseInt(osecond.textContent);
let hour = document.getElementById('outputHour');
let nHour = parseInt(hour.textContent);
As you can see below, I have stored setInterval in a variable called stopInterval, and in the set interval function, I have explicitly specified another function that modifies the value of the <span></span> tag.
  const stopInterval = setInterval(function () {
    nSecond++;
    if (nSecond <= 9) {
      osecond.innerText = '0' + nSecond;
    }
    if (nSecond > 9) {
      osecond.innerText = nSecond;
    }
    if (nSecond > 59) {
      // console.log('minute');
      nSecond = 0;
      osecond.innerHTML = '0' + 0;
      nMinute++;
      chageMin();

      osecond.innerText = '0' + nSecond;
    }
  }, 10);
If you want to end the loop that was begun with setInterval, you can save the function in a variable or constant and then stop the loop with clearInterval(Variable).
function stopit() {
 clearInterval(stopInterval);
}
addEventListener.('event', Function) can be used to execute functions when a specific button is clicked.
document.getElementById('inputStart').addEventListener('click', second);
document.getElementById('inputReset').addEventListener('click', reset);
document.getElementById('inputStop').addEventListener('click', stopit);
document.getElementById('inputLap').addEventListener('click', lap);
Now, for a lap, I have used insertAdjacentHTML to insert an html code straight into HTML and querySelector to pick which div, HTML code should be added after. As shown below:
function lap() {
  if (nSecond < 9) {
    sec.push("0" + nSecond);
  } else {
    sec.push(nSecond);
  }
  if (nMinute < 9) {
    min.push("0" + nMinute);
  } else {
    min.push(nMinute);
  }
  if (nHour < 9) {
    hr.push("0" + nHour);
  } else {
    hr.push(nHour);
  }
  const code = `<div class="lap-record"> ${calcnum}: ${hr[counter]}:${min[counter]}:${sec[counter]} </div>`;
  const div = document.querySelector(".lap-begins");
  div.insertAdjacentHTML("afterbegin", `${code}`);
  counter++;
  calcnum++;
}
If you have any difficulties, a link to a YouTube video is below, or you may contact me via my Twitter handle.
Youtube Link: