


Table of contents
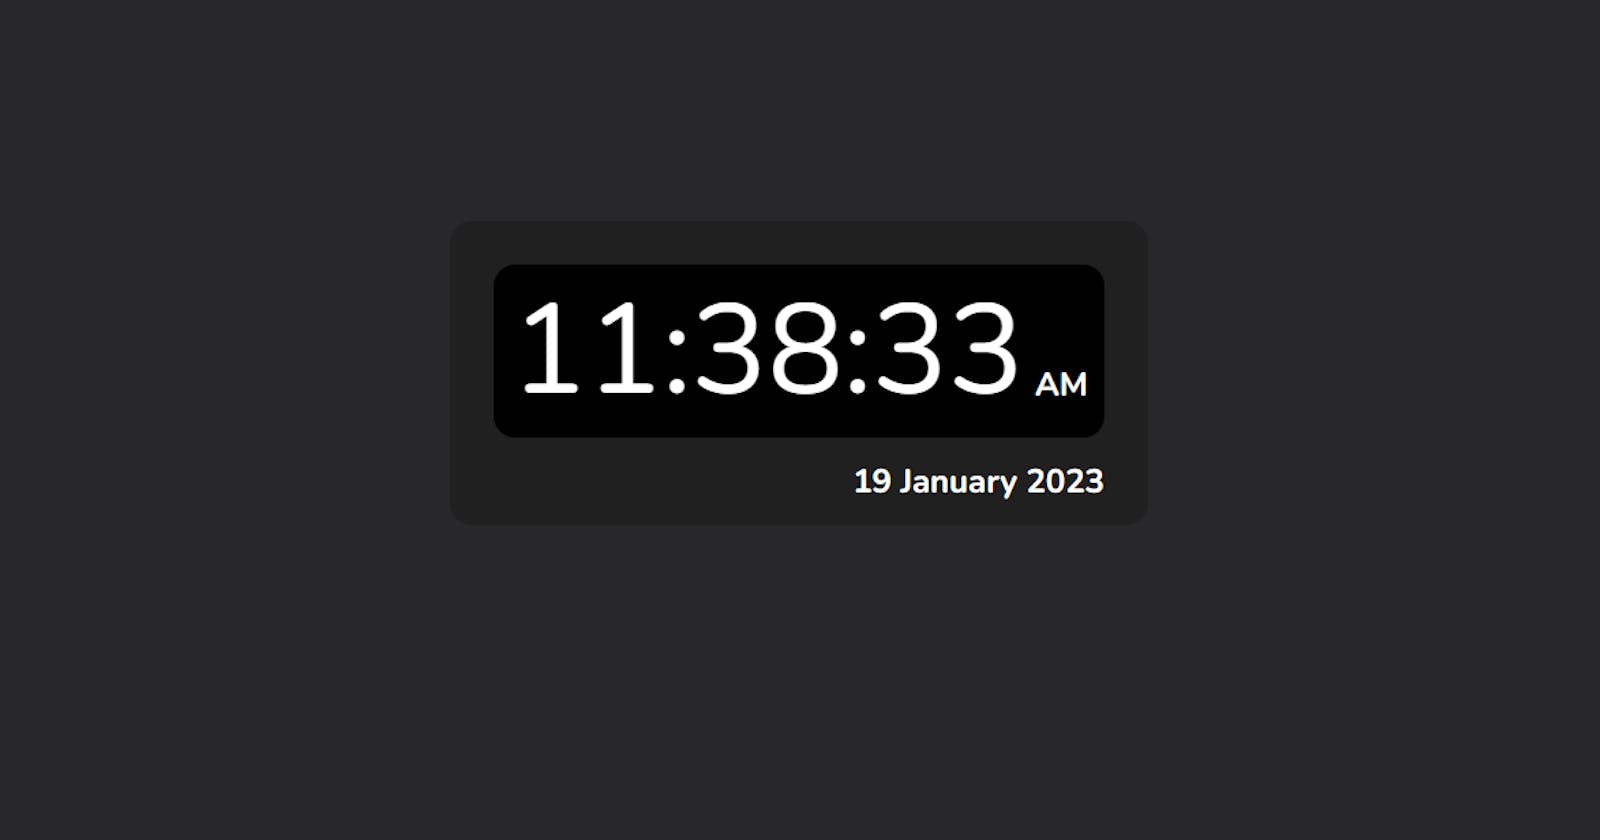
A friend of mine, Usman, challenged me to construct a digital clock some time ago. I accepted and triumphantly accomplished the task. This article will delve into the specifics of the clock's design and my personal experience.
Live Site: https://digitalclock.bhaveshp.dev/
It may be made in 3 simple stages, which are as follows:
Drafting an outline in HTML
Adding styles with CSS
Integrating more features using JavaScript
If you want to check out and improve on my work, please go to my GitHub repository, which is linked at the bottom of this page.
HTML Layouts
To begin, you'll need to utilize the div element to build a few containers and fill them with information. Here is a small piece of my code that you can look at for help.
    <div class="clock-container">
      <div class="time-container">
        <span id="hours">00</span>
        :
        <span id="minutes">00</span>
        :
        <span id="seconds">00</span>
        <div id="session">..</div>
      </div>
      <div id="date">4th April 2002</div>
    </div>
By including javascript, all the values in the previous code will be changed to reflect the current time.
CSS Formats
Here, we'll be applying some external CSS to our standard HTML to give it a little flair. If you want to utilize my code, feel free to do so.
We'll start by giving the body element a revamp by adjusting its font-family, background color, and alignment.
@import url('https://fonts.googleapis.com/css2?family=Nunito:ital,wght@0,200;0,300;0,400;0,500;0,600;0,700;0,800;0,900;0,1000;1,200;1,300;1,400;1,500;1,600;1,700;1,800;1,900;1,1000&display=swap');

:root{
    --matte-black: #28282b
}

body{
    background-color: var(--matte-black);
    display: flex;
    justify-content: center;
    align-items: center;
    height: 98%;
    font-family: 'Nunito', sans-serif;
    color: white;
}
Following that, we'll use border-radius, background-color, and padding to colour and layout the primary clock.
.clock-container{
    background-color: rgb(32, 32, 32);
    width: 30rem;
    height: fit-content;
    border-radius: 1rem;
    padding: 1rem;
}
.time-container{
    display: flex;
    flex-direction: row;
    justify-content: center;
    align-items: center;
    font-size: 5.8rem;
    background-color: black;
    border-radius: 1rem;
    margin: 1rem;
    height: fit-content;
}
We will begin working on content, including determining font size and placement, after the clock's outer shell has been developed.
#date{
    font-size: 1.5rem;
    font-weight: bold;
    display: flex;
    justify-content: flex-end;
    align-items: flex-end;
    margin-right: 1rem;
}
#session{
    font-size: 1.5rem;
    font-weight: bold;
    margin-top: 3rem;
    margin-left: 0.5rem;
    display: flex;
    justify-content: flex-end;
    align-items: flex-end;
}
We'll move on to JavaScript now that we've finished with CSS.
Functions in JavaScript
You may now use my code so long as you alter it in certain ways.
The first step is to get the document components that need manipulation. Use getElementById('id') and save the data in a variable.
const hours = document.getElementById('hours');
const minutes = document.getElementById('minutes');
const seconds = document.getElementById('seconds');
const dateTag = document.getElementById('date');
const session = document.getElementById('session');
The next step is to construct an array that would hold the spelled versions of the months.
const months = [
  'January',
  'February',
  'March',
  'April',
  'May',
  'June',
  'July',
  'August',
  'September',
  'October',
  'November',
  'December',
];
Following this, we'll create a setInterval function and an arrow function that will be looped after every 100 milliseconds.
setInterval(()=>{
    //code here
},100)
A new Date() method, along with getSeconds, getMinutes, getHours, getFullYear, getMonth, and getDate, will be created and used within the arrow function. Everything discussed above will be used in conjunction with a variable. To change the value, use textContent.
  setInterval(() => {
    const date = new Date();
    let omg = `${date.getDate()} ${
      months[date.getMonth()]
    } ${date.getFullYear()}`;
    let nSeconds = date.getSeconds();
    let nMinutes = date.getMinutes();
    let nHours = date.getHours();
    dateTag.textContent = omg;
    hours.textContent = nHours;
    minutes.textContent = date.getMinutes();
    seconds.textContent = nSeconds;
  }, 100);
Now we'll specify that a zero should be appended whenever the value of a second, minute, or hour is less than 10 by setting up some new conditions.
    if (nHours < 10) {
      hours.textContent = '0' + nHours;
    } else {
      hours.textContent = nHours;
    }
// should be completed for every element.
Now we'll enclose setInterval inside of setTimeout to fake a wait time.
setTimeout(()=>{
    setInterval(()=>{
        //code here
    },100)
},1000)
It would mean a lot to me if you grasped the concept I was attempting to convey. If you need help, a YouTube video is provided below, or you can tweet me directly.
Youtube Link:
Source Link: